One Day Build: Shop Work Bench

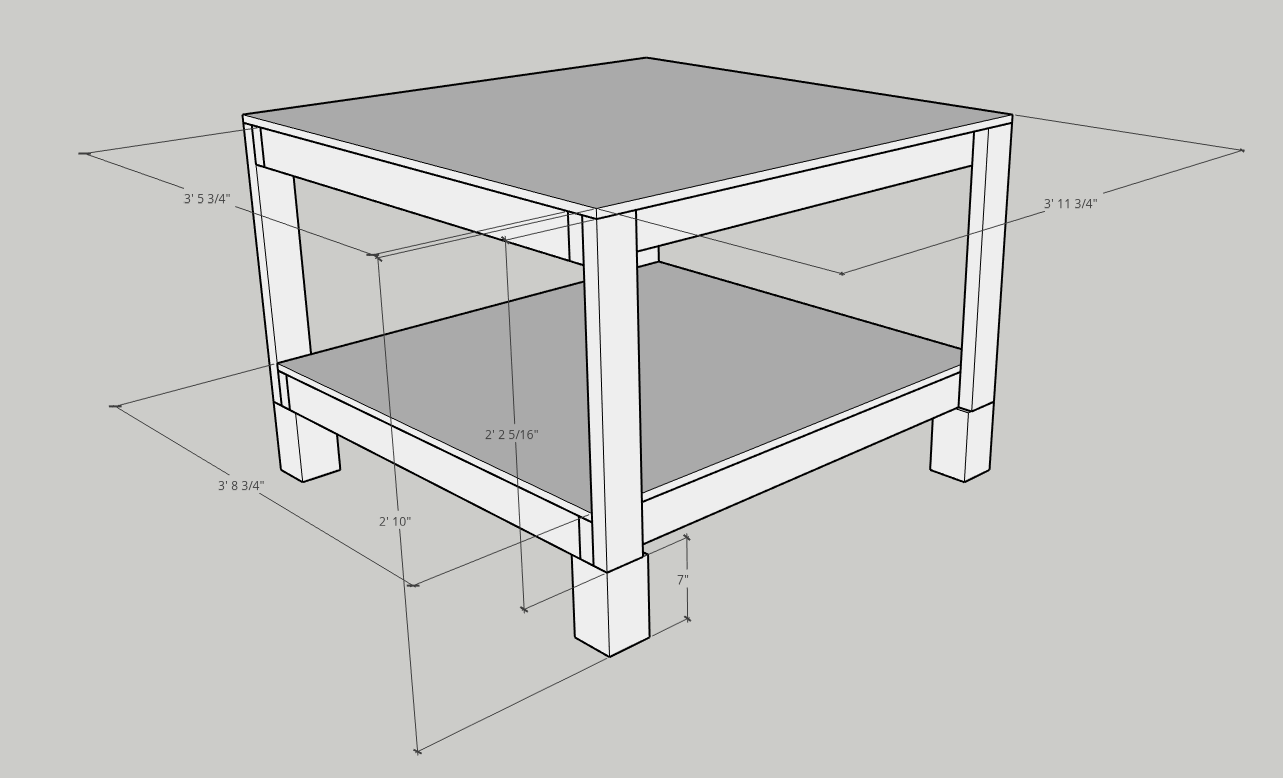
This is a basic work bench that is on wheels so that I can move it around my shop easily. As well I have been needing something to act as an out-feed table for my table saw when I am cutting bigger items. My table saw is a Dewalt Job Site Saw with the stand from Dewalt. So this added really only one constraint on my build. That the work bench could not exceed 34.25 inches since going beyond this would make it taller that the table saw.
Materials Needed:
- 8 x 2x4 x 8'
- 2 x 48"x48"x 3/4" Plywood
- 3" Decking Screws
- 2" Decking Screws
- 4 x 5" Locking Casters
Tools Used:
- Ryobi Miter Saw TSS103
- Dewalt Drill
- Dewalt Impact Drill
- Speed Square
Software Used:
Assumptions:
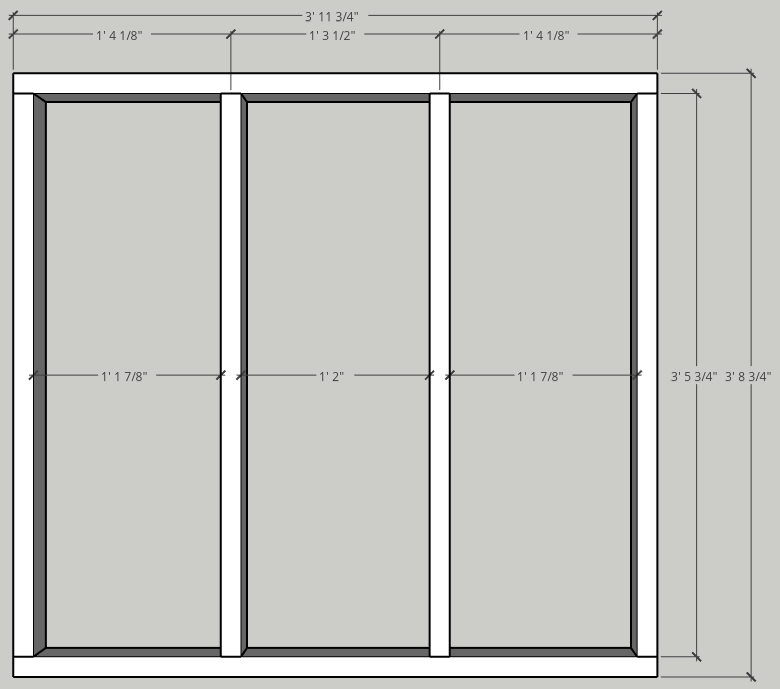
Some assumptions were made when drawing up the plans for the work bench. Online the plywood that I was going to use for the top and the bottom shelf stated that they were actually 47.75 inches squared and not 48 inches squared. The bottom blocks were representing the casters once again online stated that the casters were just shy of 7 inches tall. However, the reality was that the plywood was exactly 48 inches squared and the casters were closer to 6 inches tall. What ever the case may be you will have to adjust your measurements to accommodate what materials you can find.
Plans:
The Build:
The construction of the table is basic there are basically two square frames constructed out of 2x4s that I picked up at my local home center. (See Figure above) That are then attached via more 2x4s acting as legs. On the bottom were the vertical 2x4s and the frame of the bottom shelf meet is were I attached the casters. Now the spacing of the center runners is not that important the real purpose is to provide support for the plywood that will be laid on top and to help strengthen the over all structure. For me I just tried to evenly space them as much as I could.
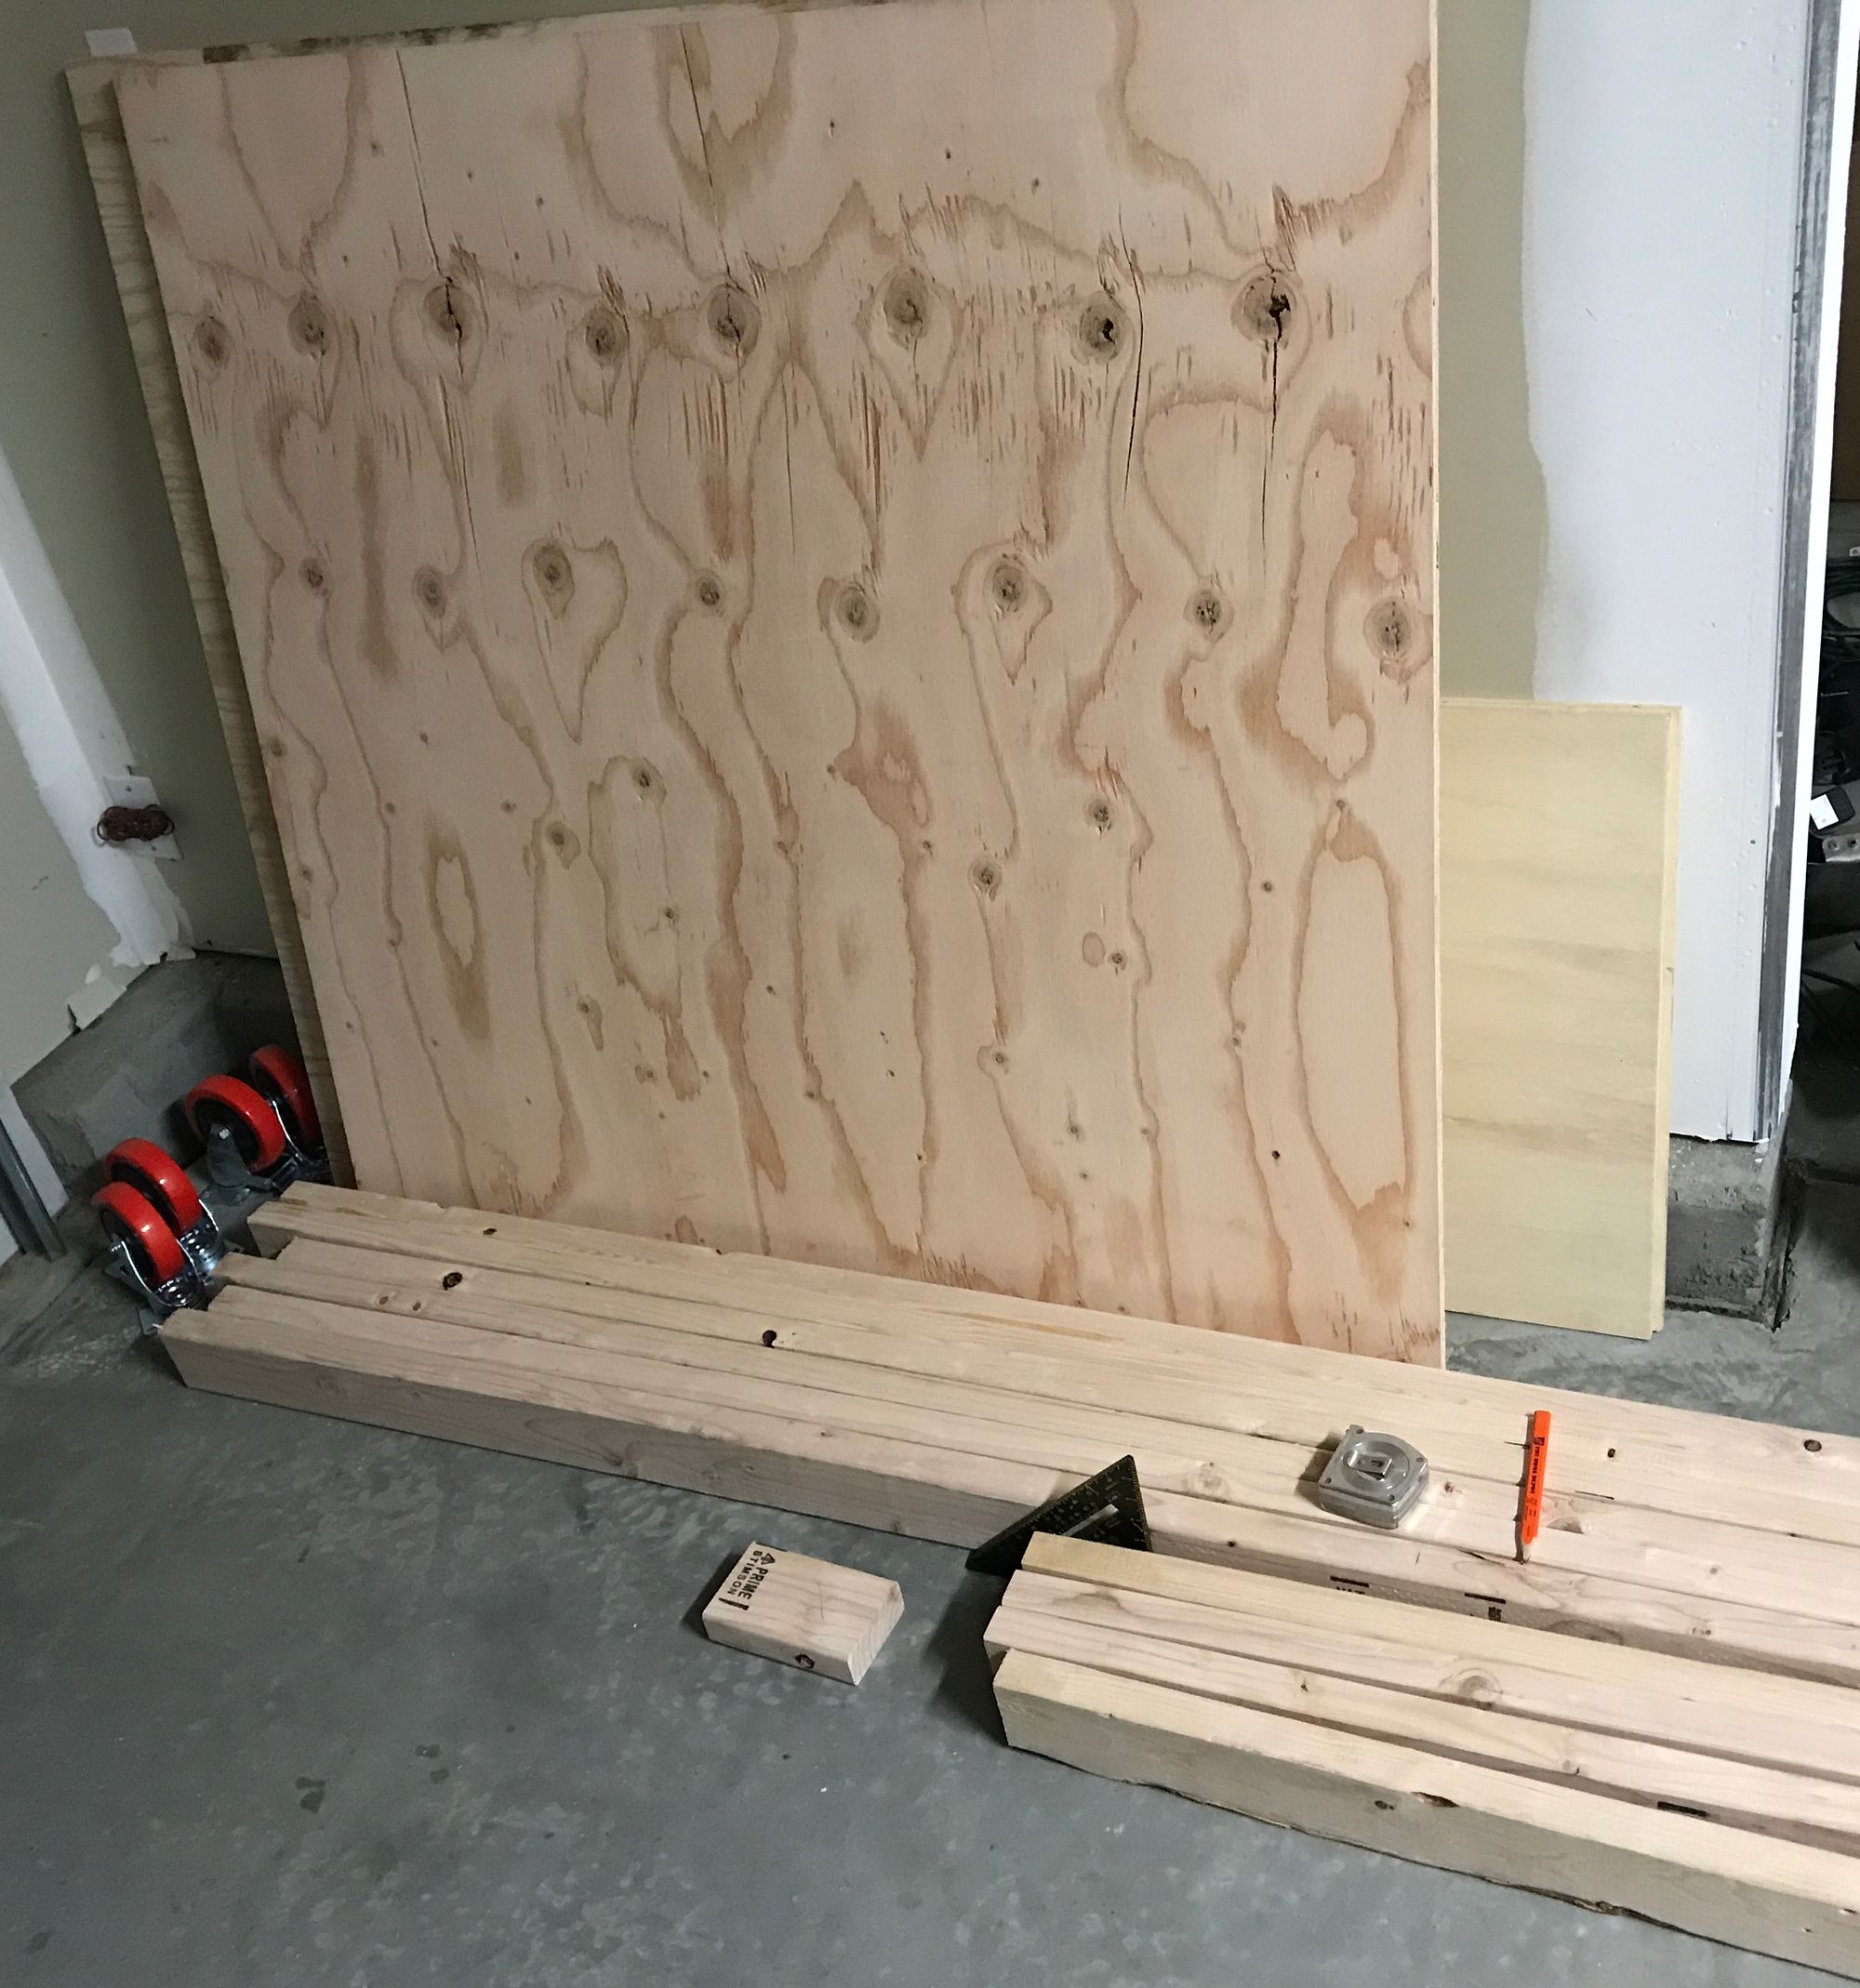
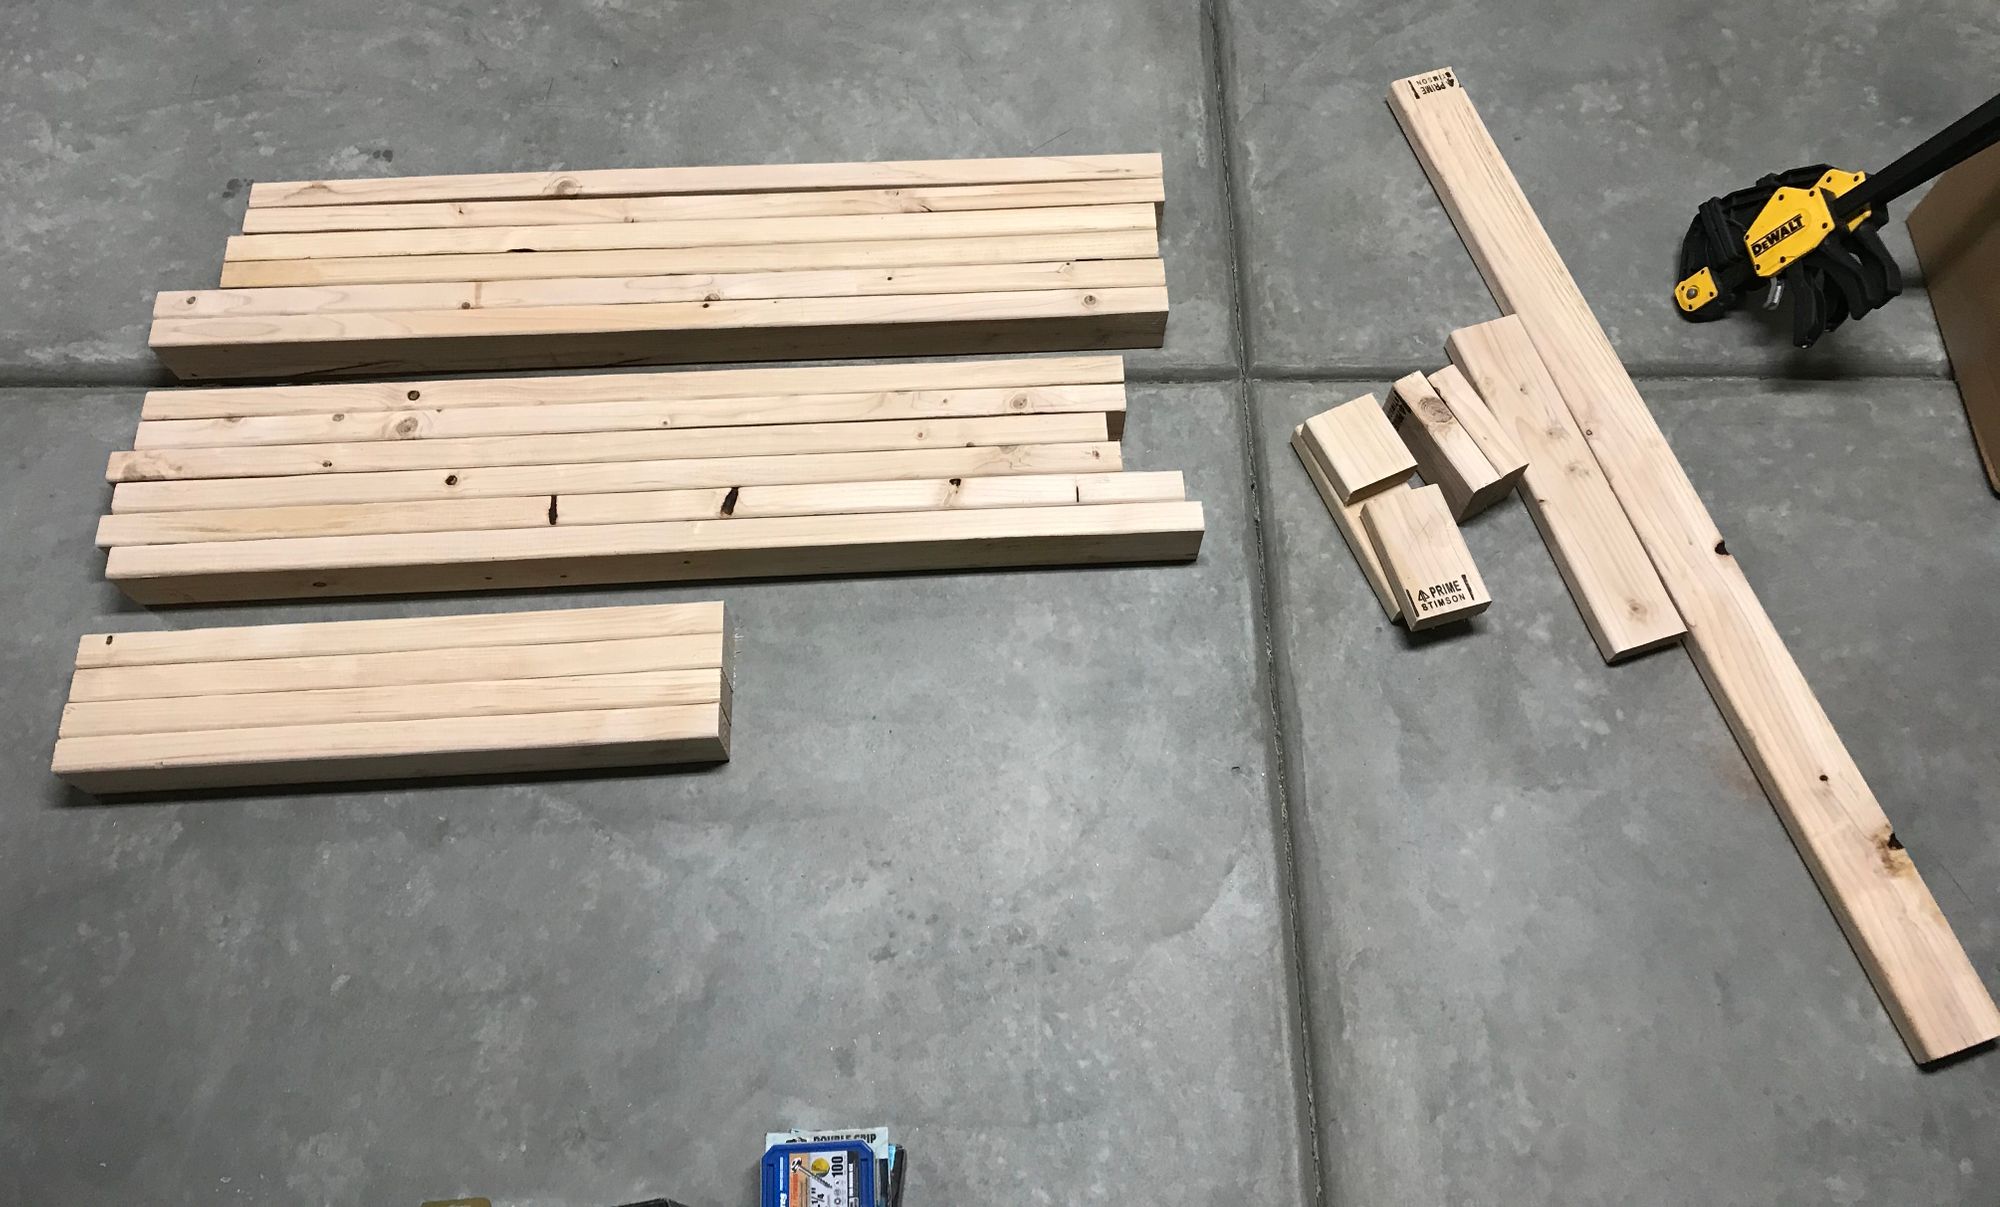
I first started by breaking down all of the 2x4s to the correct lengths using a Ryobi Miter Saw. Once this was done using a section of my garage floor I laid out each frame. Using 3 inch decking screws I assembled them.

Then after I had both frames build I connected them via the legs once again with 3 inch decking screws.
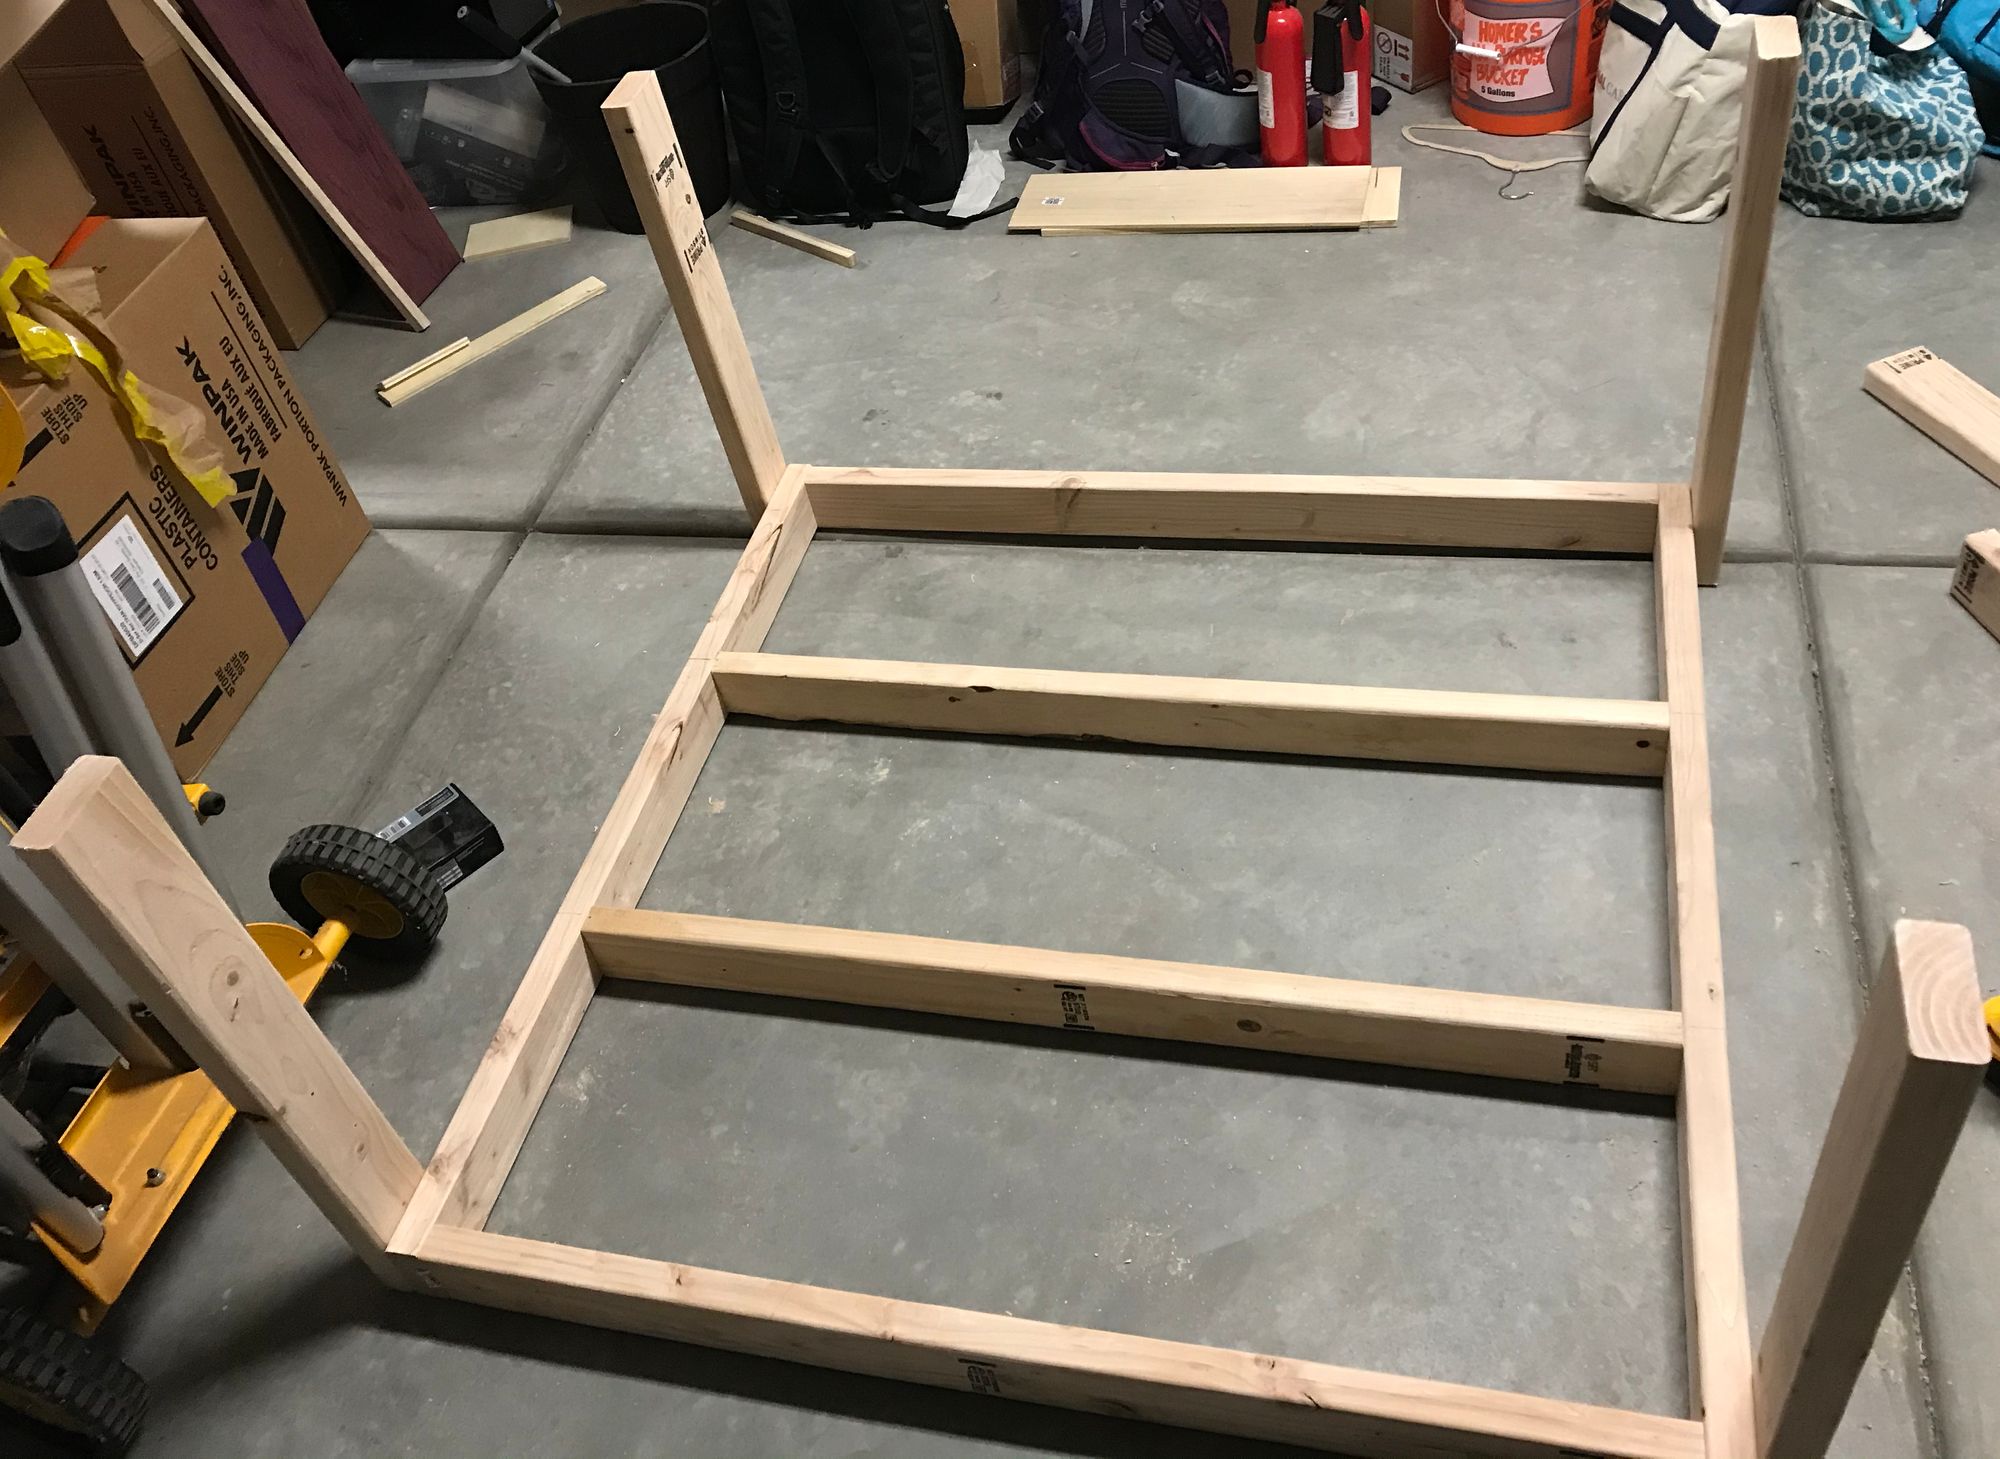
It made it easier to connect them with the frames on the ground. Once I had one frame connected to the legs, I laid the other frame down and simply repeated the process.
At this point I connected the casters to the bottom, my plan was to use decking screws again but, the holes for the screws were too big for the heads of the decking screws. I happened to have some washers so I used them to make up the difference. (I forgot to take a picture of this so I will update this with one.)
Now that I had the casters on this work bench was almost finished. All that is left is to screw on the plywood top and for the bottom shelf. I was thinking this is going together with out any major problems, nice right. And then...
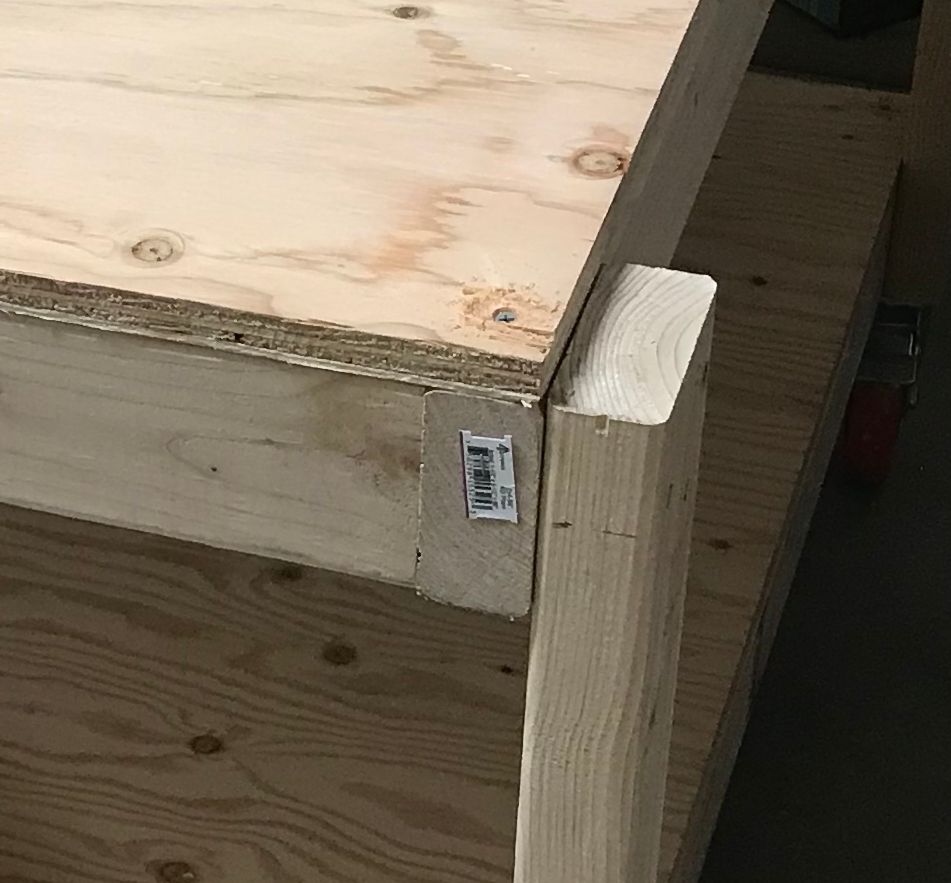
Well now something is not adding up. The plywood was supposed to cover the 2x4 legs. So what I think happened here was back when I did the drawings for this I had 45 inches stuck in my head for the inner runners for the frames. I am not sure why and I had found the error when I put the plywood on in SketchUp just as I had here. This would not been an issue if the plywood was like it stated online and been 47.75 inches but it was not so I adjusted the runners. However, instead of adding .25 of an inch I jumped to 45 inches again witch was 3 inches too big. The plus side to this was that the bottom shelf was easier to install there was no need to cut it. Both sheets I used 2 inch decking screws to hold them down. Now I did not go too crazy with this I only put screws in the corners and the center of each side on the outside edges. I did think about doing more but for now the main purpose for this is to hold down the plywood.

Conclusion:
With that small issue I think this came out nicely. Definitely not pretty but it will get the job done. Also I need to get better at taking pictures for these posts and hopefully down the road I will start to have video of these builds. I will be building another one of these for my CNC Router.
I hope that you have found this useful and thank you for reading.

